Sunday, April 21, 2013

Homemade Fire-Pit!


As I sit here on this beautiful sunny day...I am taking in all that I am grateful for. After the recent events in Boston it has made me sit back and reflect all the amazing things I have in my life and I am humbled. I am grateful for my husband and how he provides for me and our home as well as my family, friends and job. I tend to say " I don't have enough time to do this or that.." or "I have too much to do.." or the best excuse " I am tired!" But at the age of 26...I shouldn't be stressed out or saying I don't have enough time or that I am tired. I am learning slowly but surely that I need to embrace everyday as if it was my last and be grateful for all the things God has given me!

That being said...this past weekend my husband was a workin' machine in our yard! I must thank the website Pinterest for inspiring me  and helping me get out of the funk of "I don't and I can't". We ended up fixing up our patio with some great new features!! I will be posting them as we finish them! From fire-pits, to our deck we have touched it all!


Here is how we made our new fire-pit:

We had an old stand alone fire-pit for years that was collecting water on our patio. We didn't use it as much because my husband built a bigger camp fire, fire-pit out in our yard! I happen to come across this link on Pinterest and got inspired to redo our old fire-pit so that we would now have two of them! If it has rained the night before or we can't go on the grass for some reason we now can use the fire-pit on our patio instead!

So we went to good old Home Depot and picked out our stone. We ended up buying thirty stones for the price of $1.91 a stone.


When we got home Kevin placed the stones around in a circle. Make sure they are snug as a bug in a rug! You don't want any gaps!


Make three three layers of stone (10 blocks per ring).


Our dog Jack was happy to stand by and watch his dad hard at work!


Almost done!!


We discarded the frame of the fire-pit and just used the bowl and grate.


When you place it on the wall make sure the lip is comfortably placed on the stone so that it won't fall in!


Here are a few view of the finished fire-pit from up above:


Ta-Da! All done!!

Tip: Drill a hole in the bowl of the fire-pit. This will prevent water build up from rain and help with air flow! One hole should do the trick!

From drab to fab!! The blocks match our patio perfectly and we have given our old fire-pit a face lift!

Here are a few other things we did while building the fire-pit:

We used to have a hot tub (amazing!) but it broke :o( boo! So we needed to come up with something to do with the empty space we were left with!

A new rug with wooden chairs did the trick! It added more seating for our guests and a nice place for me and Kevin to sit on spring nights! We also got a side table and a cushion container! I have been needing one of these for quite some time now! I don't think carrying our seat cushions from our upstairs down two flights of stairs is the safest idea!!


My dad bought me this awesome flower pot for Christmas! Three layers of flowers! I think my creation came out pretty fabulous! What do you think? Jack seems to like it! =) Bought all plants at HD!


The fire-pit took us about 30 minutes to put together! For a reasonable price I think we did pretty good!!

It is as Simple as 1-2-3!


Sunday, April 14, 2013

Handmade Coasters

Handmade Coasters 

What you need:
Coasters (home depot)
Mod Podge
Cork
Wax Finish
Vinyl 
Ribbon

I got my coasters from Home Depot:


I like my coasters to have pours in it rather then a smooth finish.


Cut the cork to size and then place the Mod Podge on the coaster. Place the cork on the mod podge and let it sit there for 15-25 minutes.


Choose the vinyl color your want to use and get your silhouette machine ready! Choose the letter or word you want to be placed on the coaster and print it out!


Place the vinyl letter on the coaster and place a wax finishing layer on top of the coaster. Let it sit for a few hours before stacking them!


Tie a ribbon around the coasters and WA-LA!


It makes a great birthday gift, wedding gift or even housewarming gift!
It is as Simple as 1-2-3!


The Best Guacamole Recipe

The Best Guacamole Recipe

Ingredients:
2 ripe Avocados, peeled and pitted
juice of 1 Lime
1/4 Cup minced Red Onion
2 Tablespoons minced Cilantro
1 small clove Garlic, minced
1 teaspoon Kosher Salt or 1/2 teaspoon Table Salt
1/2 teaspoon Pepper
1 Tablespoon minced JalapeƱo
Directions:
Halve the avocado and remove the pit. Remove the avocado from the skin by scooping it out with a spoon. 


Place the avocado in a bowl and mash it gently with a fork. Mix in the remaining ingredients.


Mix all the ingredients together!


Serve immediately. The recipe also says you can cover and chill for up to 3 hours, but I would just leave everything prepared and put it together in the last minute.
This recipe makes 3-4 servings....I would double it!! It goes fast!!!


This was so yummy for an afternoon snack!!! It is as Simple-as-123!


Monday, April 8, 2013

No-Cream No-Cry Penne alla Vodka

This has to be one of my favorite recipes!! It was so good! Here is the website I got it from:
 www.shrinkingjeans.net

No-Cream No-Cry Penne alla Vodka

Ingredients: 

 Serves 4

8 ounces whole wheat penne
2 cups low-fat marinara (Rocco includes a recipe for one in the book on pg 206)
Pinch of crushed red pepper
7 ounces 2% Greek yogurt
1 cup chopped fresh basil
Salt and freshly ground black pepper
6 Tbsp. grated Parmigiano Reggiano cheese
 3 chicken Breasts


I added grilled chicken to the mix! Grill the chicken and chop the basil!


Bring a large pot of lightly salted water to a boil. Add the pasta and cook according to the package directions, about 9 minutes; drain.


While the pasta is cooking, bring the marinara sauce and crushed red pepper to a simmer in a large nonstick sautĆ© pan over medium heat. Cook the sauce, stirring it occasionally with a heat- resistant rubber spatula, until it is slightly thickened, about 5 minutes. 


Remove the sautƩ pan from the heat.
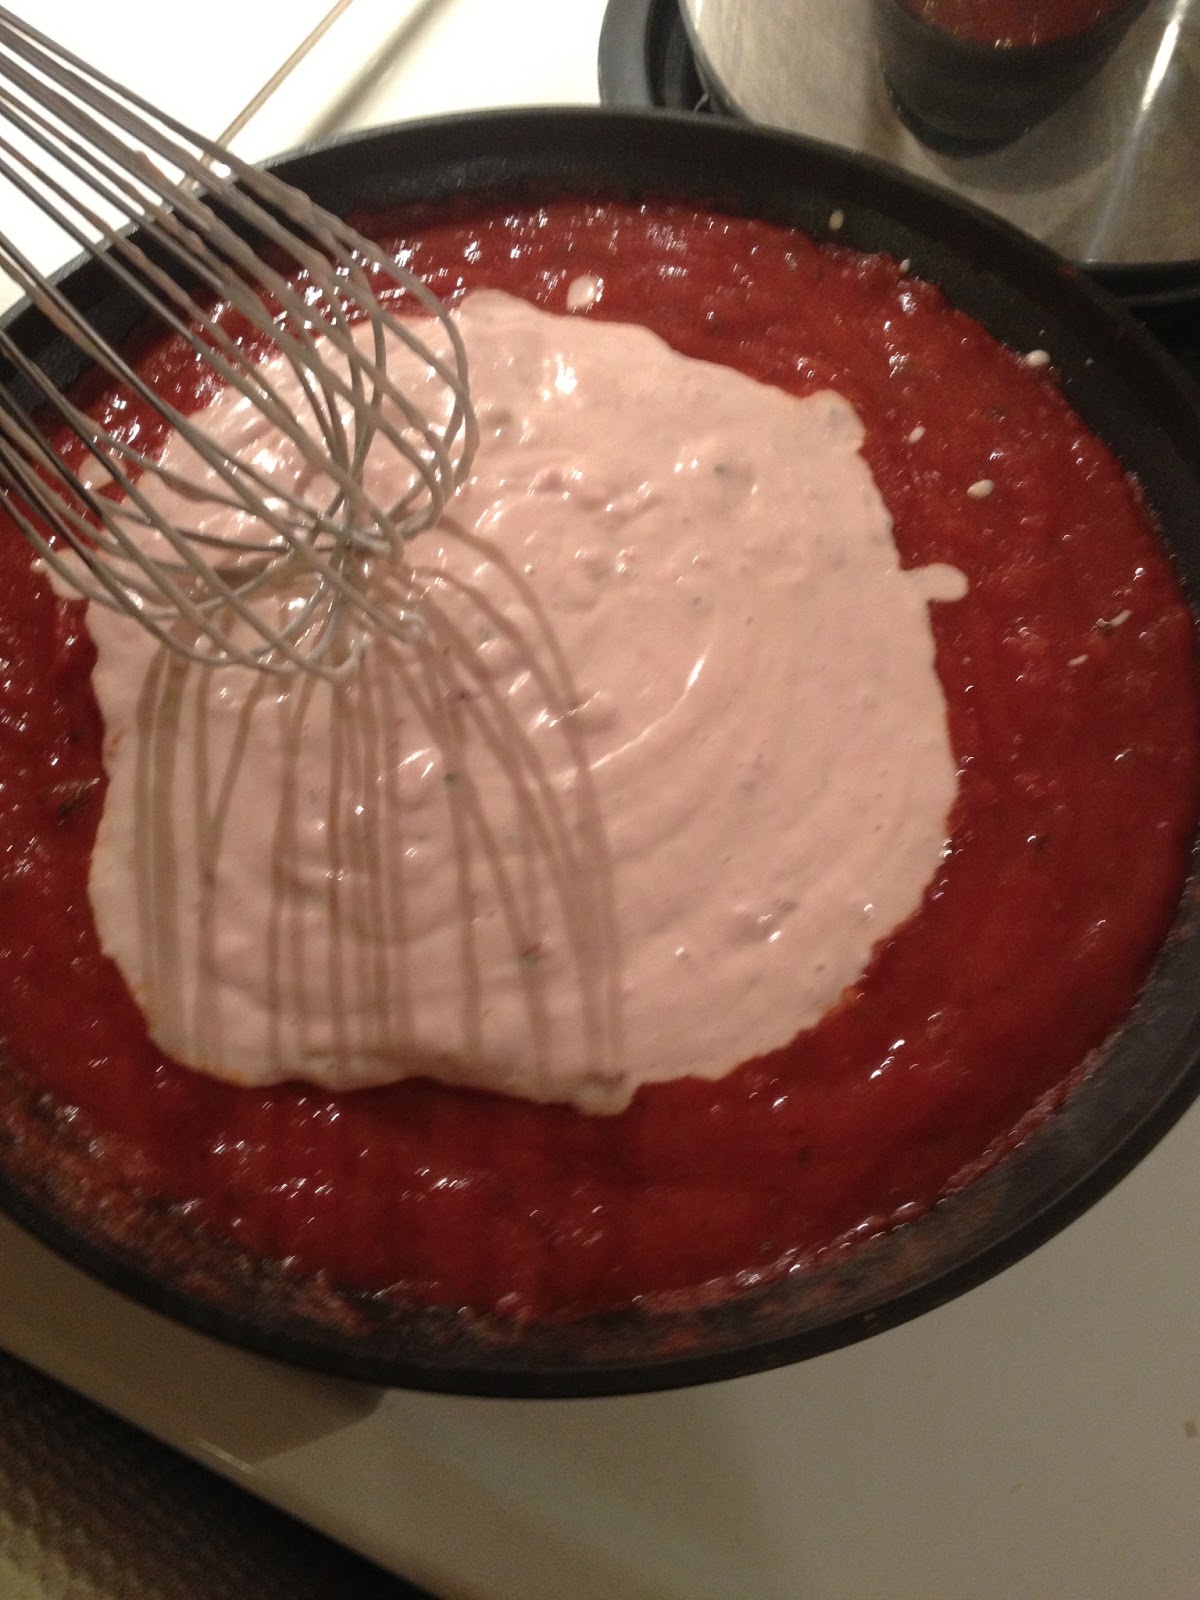
Stir about 1/2 cup of the marinara sauce into the yogurt until smooth (this tempers it and prevents the yogurt from curdling).


 Then whisk the yogurt mixture back into the marinara sauce.


 In a large serving bowl, toss the sauce with the drained penne and the chicken and basil.
 Season with salt and pepper to taste. Sprinkle the cheese on top, and serve!

 It is as Simple As 1-2-3!


Friday, March 1, 2013

Warms me from my head to my toes!

In the winter I love nothing more then a hot steamy soup to warm me up! 
 
Escarole and beans is one of them! It not only is super healthy but warms you from your head to your toes! Bon appetite!

Ingredients

2 tablespoons olive oil
2 garlic cloves, chopped
1 pound escarole, chopped
Salt
4 cups low-salt chicken broth
1 (15-ounce) can cannellini beans, drained and rinsed
1 (1-ounce) piece Parmesan
Freshly ground black pepper
6 teaspoons extra-virgin olive oil
Serving suggestion: crusty bread
Directions:
Heat 2 tablespoons of olive oil in a heavy large pot over medium heat. Add the garlic and saute until fragrant, about 15 seconds. Add the escarole and saute until wilted, about 2 minutes. Add a pinch of salt. Add the chicken broth, beans, and Parmesan cheese. Cover and simmer until the beans are heated through, about 5 minutes. Season with salt and pepper, to taste.
Drizzle 1 teaspoon extra-virgin olive oil over each. Serve with crusty bread. Serves 6.

 It is as Simple As 1-2-3!!